Welcome to The Go-to Crew Electric’s comprehensive buyer’s guide to electrical switch installations Whether you’re upgrading your existing switches or installing new ones to enhance the functionality and aesthetics of your home, understanding the different types of switches and their applications is essential.
Understanding Electrical Switches
Before delving into the installation process, let’s start with the basics. An electrical switch is a device used to control the flow of electricity to lighting fixtures, appliances, and other electrical devices. It works by interrupting or completing the circuit, allowing you to turn lights on and off or adjust the lighting intensity as needed.
Critical Types of Switches
- Single-Pole Switch: The most common type of switch used to control lights from a single location. It has two screw terminals for connecting the hot wire (line) and the switched hot wire (load).
- Three-Way Switch: Used with another three-way switch to control lights from two locations, such as at the top and bottom of a staircase. It has three screw terminals for connecting the hot wire, two traveler wires, and the switched hot wire.
- Four-Way Switch: Used with two three-way switches to control lights from three or more locations. It has four screw terminals for connecting the traveler wires.
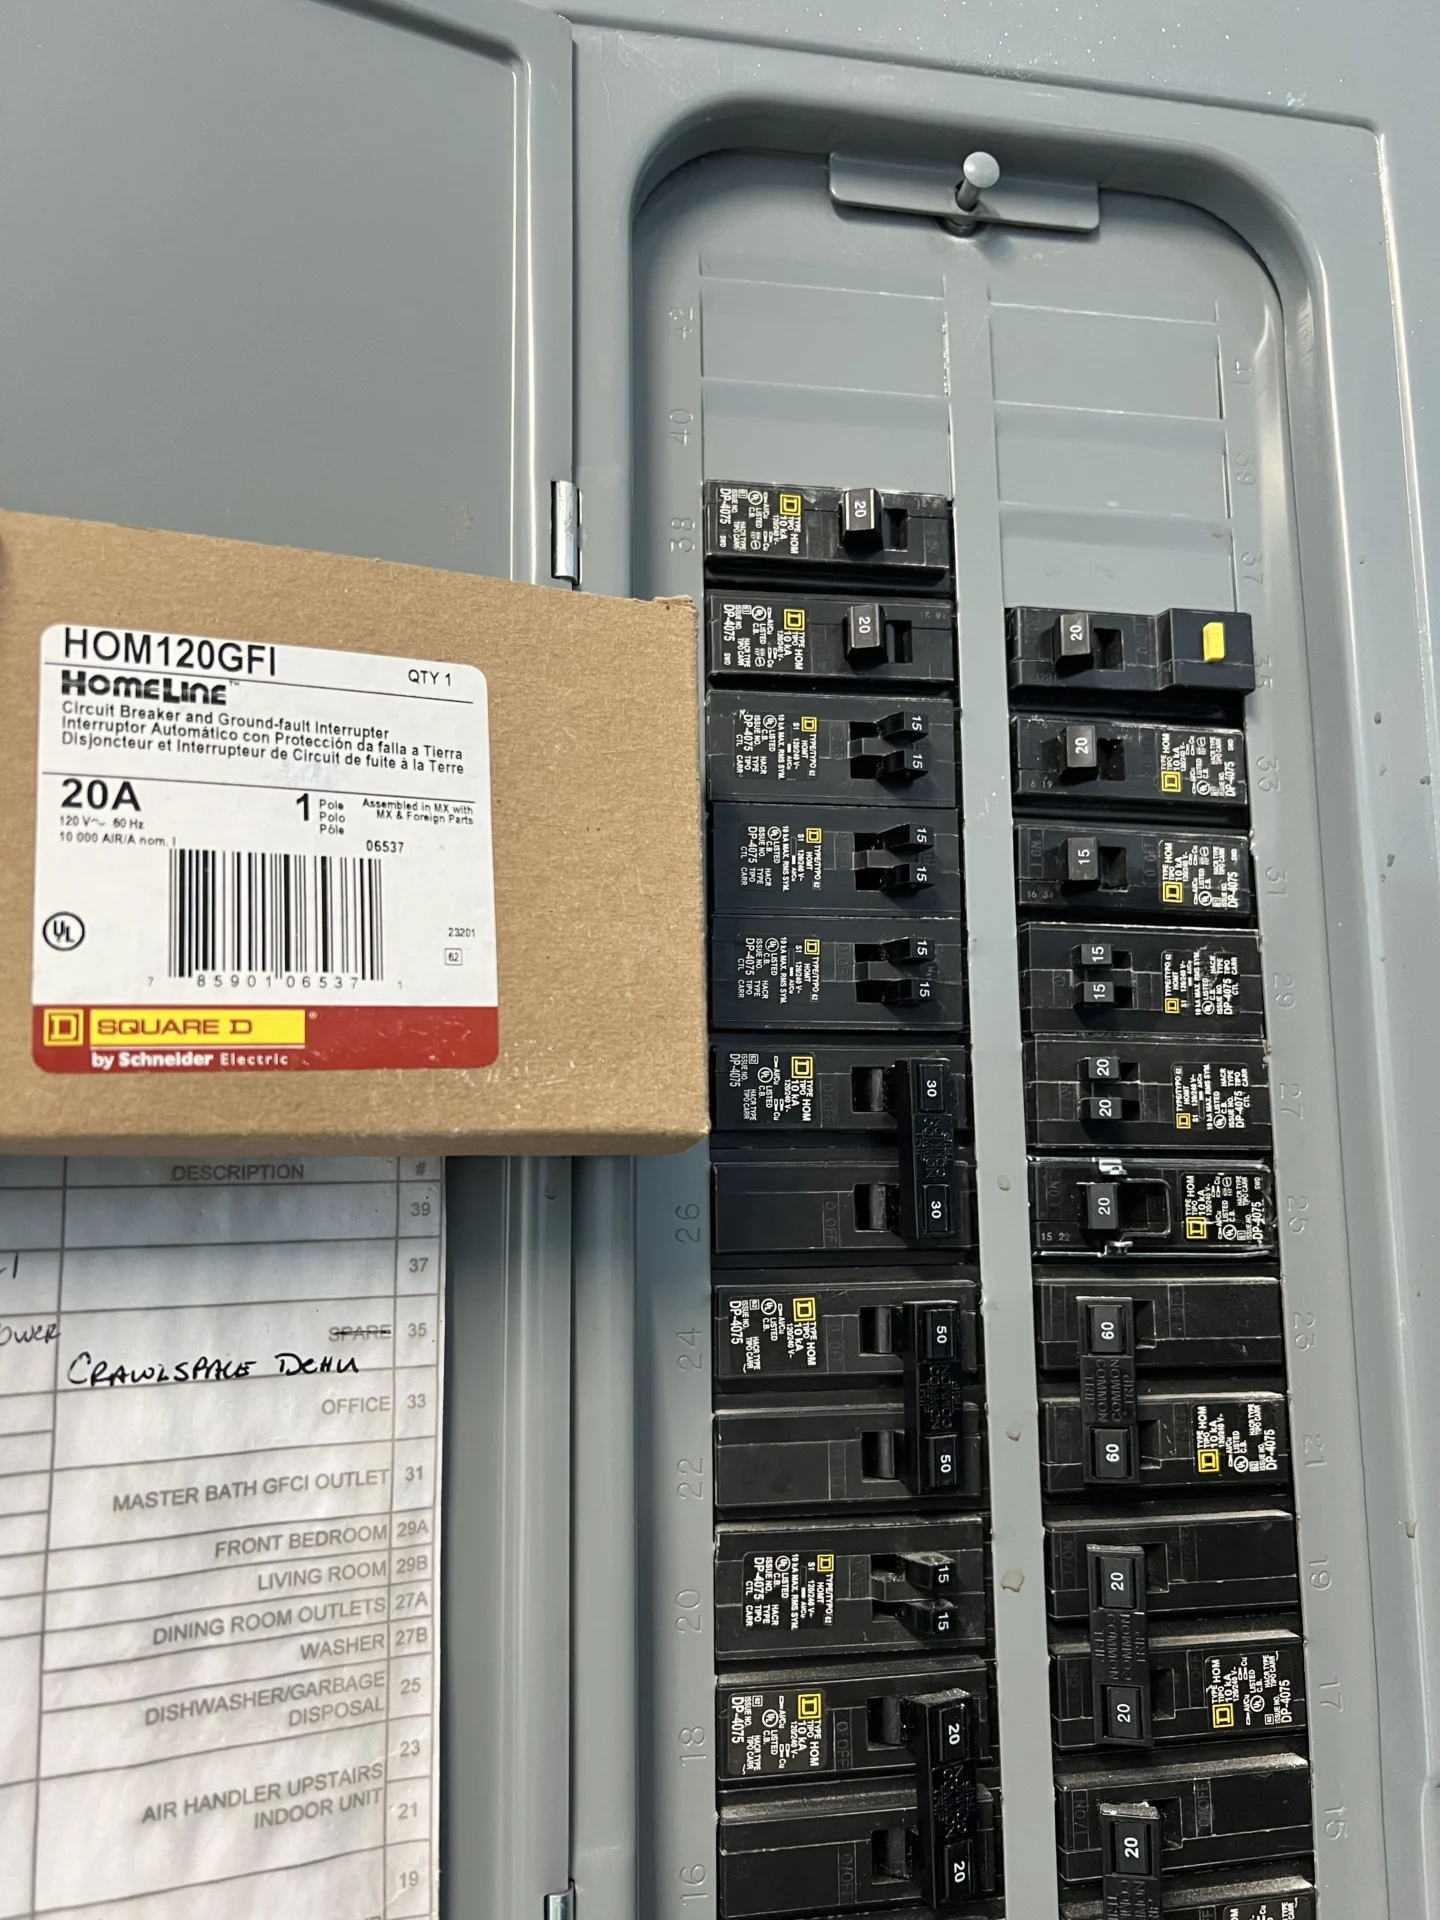
- Dimmer Switch: This allows you to adjust the brightness of lights, providing greater control over lighting ambiance. It is available in single-pole, three-way, and multi-location configurations.
- Timer Switch: This switch automatically turns lights on and off at preset times, offering convenience and energy savings. It is ideal for outdoor lighting, security lights, and indoor lamps.
Choosing the Right Switches for Your Needs
Selecting suitable switches for your home depends on several factors, including functionality, aesthetics, and budget. Here’s a guide to help you make the best choice:
- Functionality: Determine the desired functionality of the switches, whether you need simple on/off control, dimming capabilities, or programmable timers.
- Location: Consider the location and usage of the switches, such as indoor vs. outdoor, high-traffic areas, and specific rooms or zones.
- Compatibility: Ensure compatibility with your existing wiring and electrical system to avoid compatibility issues and ensure proper installation.
- Style and Design: Choose switches that complement your home’s décor and personal preferences, whether you prefer traditional toggle switches, modern rocker switches, or sleek touch-sensitive controls.
- Budget: Set a budget for your switch upgrades or installations and explore options within your price range, balancing quality and affordability.
The Installation Process
Installing electrical switches is a straightforward task that can be tackled by DIY enthusiasts or left to professional electricians. Here’s a step-by-step guide to installing single-pole switches:
- Turn off the power: To prevent electrical shocks, shut off the power to the circuit at the breaker or fuse box.
- Remove the old switch: Unscrew the switch cover plate and remove the mounting screws holding the switch in place. Carefully disconnect the wires from the old switch.
- Prepare the wires: Using wire strippers, strip the insulation from the ends of the wires, exposing about 1/2 inch of bare wire.
- Connect the wires: Connect the hot wire (line) to the black screw terminal on the new switch and the switched hot wire (load) to the other screw terminal. If the switch has a ground terminal, connect the ground wire.
- Mount the switch: Secure the switch to the electrical box using the mounting screws provided, ensuring it is level and flush with the wall surface.
- Install the cover plate: Attach the switch cover plate to the switch using the screws provided, making sure it covers the electrical box opening completely.
- Restore power: Turn the power back on at the breaker or fuse box and test the switch to ensure proper functionality.
Expert Tips for Switch Installation Success
Installing switches may seem straightforward, but attention to detail is crucial for a successful installation. Here are some expert tips to ensure your switch installation goes smoothly:
- Turn Off Power: Safety first! Before starting any work, turn off the power to the circuit at the breaker panel to prevent electrical shocks. Use a voltage tester to verify that the power is off before proceeding with the installation.
- Choose the Right Switch: Select a switch that suits your needs and the requirements of the circuit. Consider factors such as switch type (single-pole, three-way, dimmer), compatibility with the electrical load, and aesthetic preferences.
- Gather Tools and Materials: Gather all the necessary tools and materials before starting the installation to streamline the process. You’ll typically need a screwdriver, wire stripper, voltage tester, wire nuts, and possibly a drill for mounting the switch.
- Follow Wiring Diagrams: Refer to wiring diagrams provided with the switch or consult reliable sources to ensure proper wiring connections. Pay attention to wire colors and terminal markings to avoid mistakes that could cause electrical hazards or malfunctions.
- Properly Prepare Wires: Carefully strip the insulation from the wires using a wire stripper, ensuring that only the necessary length is exposed. Avoid nicking or damaging the wire strands, as this can affect the quality of the connection.
- Secure Connections: Make sure wire connections are secure and tight to prevent loosening or arcing over time. Use wire nuts or terminal screws provided with the switch to secure wires together, following manufacturer instructions.
- Mount the Switch Correctly: Mount the switch securely to the electrical box using the provided screws. Ensure that the switch is level and flush with the wall surface for a professional-looking installation.
- Test Before Finalizing: After making all connections, test the switch to ensure it operates properly. Turn the power back on and carefully test the switch function, including on/off operation and any additional features such as dimming.
- Safety Inspections: Perform a final safety inspection to check for any loose connections, exposed wires, or other issues. Address any problems promptly before finalizing the installation.
- Labeling and Documentation: Consider labeling the switch and breaker in the electrical panel for easy identification in the future. Keep documentation of the installation, including wiring diagrams and any modifications made.
By following these expert tips and taking care to perform the installation correctly, you can ensure a successful switch installation that functions reliably and safely for years to come. If you’re unsure about any aspect of the installation, don’t hesitate to consult a professional electrician for assistance.
Additional Considerations and Upgrades
In addition to basic switch installations, consider the following upgrades and enhancements to optimize your home’s lighting control:
- Intelligent Switches: Upgrade to smart switches with wireless connectivity and app-based control for added convenience and automation.
- Motion Sensors: Install motion-activated switches in areas such as hallways, closets, and bathrooms for hands-free lighting control.
- Remote Controls: Invest in remote-controlled switches for effortless lighting adjustments from anywhere in your home.
- Energy-Efficient Lighting: Pair your new switches with LED lights that are energy-efficient as a means of lowering utility bills and reducing overall energy use.
Whether upgrading existing switches or installing new ones, The Go-to Crew Electric is here to support you every step of the way. If you have any questions or need assistance with your switch installation project, don’t hesitate to contact our team of experienced professionals. Let’s illuminate your space and enhance your home’s functionality together!